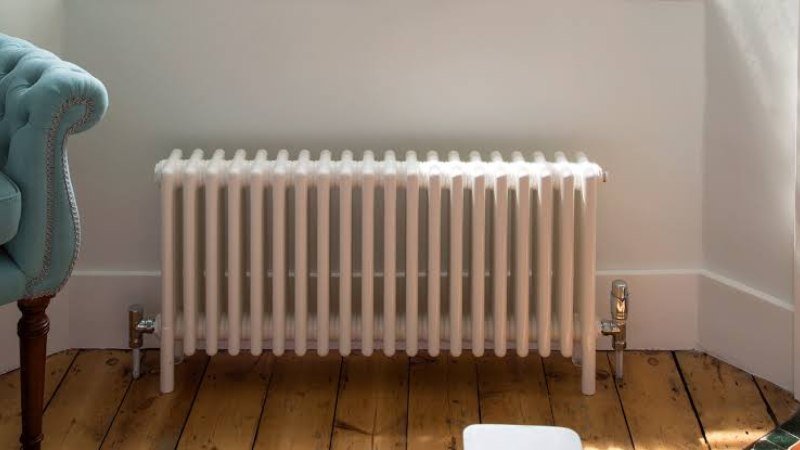
How To Bleed A Living Room Radiator
Most homeowners encounter radiators that fail to heat efficiently, often indicating trapped air within the system. You can restore your living room radiator’s performance, ensuring consistent warmth and lower energy bills, through a straightforward bleeding process. This guide provides clear instructions for effectively resolving common heating inefficiencies yourself.
Identifying Symptoms of Trapped Air
Several indicators suggest trapped air within your living room radiator, hindering its efficiency and warmth distribution. Recognising these signs early can prevent prolonged discomfort and unnecessary energy consumption.
Cold spots at the top of the unit
A common symptom, cold spots at the top of your radiator indicate air accumulation. As air rises, it prevents hot water from circulating fully, leaving the upper sections noticeably cooler to the touch than the lower parts.
Gurgling or rattling auditory signs
You might hear distinct gurgling, hissing, or rattling noises emanating from the radiator. These sounds are produced by water attempting to flow through air pockets, creating audible disturbances within the system. These auditory cues often intensify as your central heating system attempts to circulate water through the radiator, particularly when the boiler first fires up. The trapped air creates an obstruction, forcing the water to push past it, which results in the characteristic gurgling or bubbling sounds, much like water moving through a constricted pipe.
Required Tools and Safety Gear
Radiator bleed keys and alternatives
Acquiring the correct radiator bleed key is fundamental; most DIY stores stock universal designs. You might find older radiators require a square-headed key, while newer models often use a flat-bladed screwdriver slot or even an Allen key. Check your radiator’s valve type before beginning.
Absorbent cloths and collection vessels
Always have several old towels or absorbent cloths ready to catch any drips or small spills. A shallow bowl or an old mug placed directly beneath the bleed valve will collect any expelled water, preventing damage to flooring or carpets. Even a small amount of water escaping from the radiator, particularly if it contains rust or sediment, can stain light-coloured carpets or leave marks on wooden floors. Placing a collection vessel, such as a sturdy plastic container or an old baking tray, directly under the valve provides a primary catch, while the cloths offer a secondary defence against unexpected splashes.
Essential Pre-Operation Steps
Deactivating the central heating system
Begin by locating your central heating system’s control panel or thermostat. Turn the system completely off, ensuring no heat is being called for by any zone in your home. This action prevents further water circulation during the bleeding process.
Allowing for adequate cooling time
Once the system is off, you must allow sufficient time for the radiators to cool down completely. Attempting to bleed a hot radiator can result in scalding from hot water or steam. A waiting period of at least an hour, sometimes two for larger systems or very hot radiators, ensures the water within the system has reached a safe temperature. This cooling phase also allows trapped air to gather at the highest points within the radiators, making it easier to release. You can confirm a radiator is cool enough by carefully touching its surface; it should feel cold to the touch.
Executing the Bleeding Procedure
Locating and engaging the bleed valve
You will find the bleed valve, a small square or slotted pin, at the top corner of your radiator, typically opposite the temperature control valve. Insert the radiator key into this valve, ensuring a snug fit to prevent slipping during rotation.
Managing air release and water discharge
Slowly turn the radiator key anti-clockwise by a quarter turn. You should hear a hissing sound as trapped air escapes. Keep a cloth handy to catch any water that may emerge.
Maintain your grip on the radiator key and position a small container directly beneath the bleed valve. As the last of the air expels, water will begin to drip or stream from the valve. The water may initially appear discoloured, which is normal for older systems. Once the water runs clear and consistently, indicating all trapped air has been released, re-tighten the bleed valve by turning the key clockwise until it is secure, taking care not to overtighten.
Post-Bleeding System Calibration
Monitoring boiler pressure levels
After bleeding, the boiler’s pressure will likely drop. You should consult your boiler’s manual for the ideal operating pressure, which is typically between 1 and 1.5 bar for most domestic systems. Check the pressure gauge, usually located on the boiler’s front panel.
Utilizing the filling loop for stabilization
Restoring system pressure involves the filling loop, a flexible metal hose connecting the mains water supply to your central heating. You will find it beneath the boiler, often coiled or tucked away. Open the valves on the filling loop slowly, allowing mains water to re-enter the system. As water flows, monitor the boiler pressure gauge, closing the valves once the needle reaches the recommended level, typically between 1 and 1.5 bar. Ensure both valves on the filling loop are fully closed to prevent continuous water ingress, which could over-pressurise the system or contaminate your potable water supply.
Troubleshooting and Maintenance
Identifying persistent valve leaks
Should you notice consistent dripping or dampness around the radiator’s bleed valve after tightening, this indicates a persistent leak. You may need to replace the valve’s packing washer or, in some cases, the entire bleed valve assembly to prevent further water loss and potential damage to your flooring.
Scheduling annual system inspections
Regular professional inspections of your central heating system can proactively identify potential issues. An annual check by a Gas Safe registered engineer ensures all components, including radiators and pipework, operate efficiently and safely, preventing minor problems from escalating. These professional inspections typically involve checking the system’s pressure, examining pipework for corrosion, and assessing the boiler’s performance. Catching a small leak in a radiator valve or a minor pressure drop early can save you from more extensive and costly repairs down the line, ensuring your heating remains reliable through colder months.
Summing up
Maintaining your living room radiator’s efficiency is a straightforward task, ensuring your home remains warm and comfortable. By regularly bleeding your radiators, you prevent cold spots and reduce energy waste, contributing to lower heating bills throughout the colder months. This simple DIY job, when performed correctly, extends the life of your heating system.